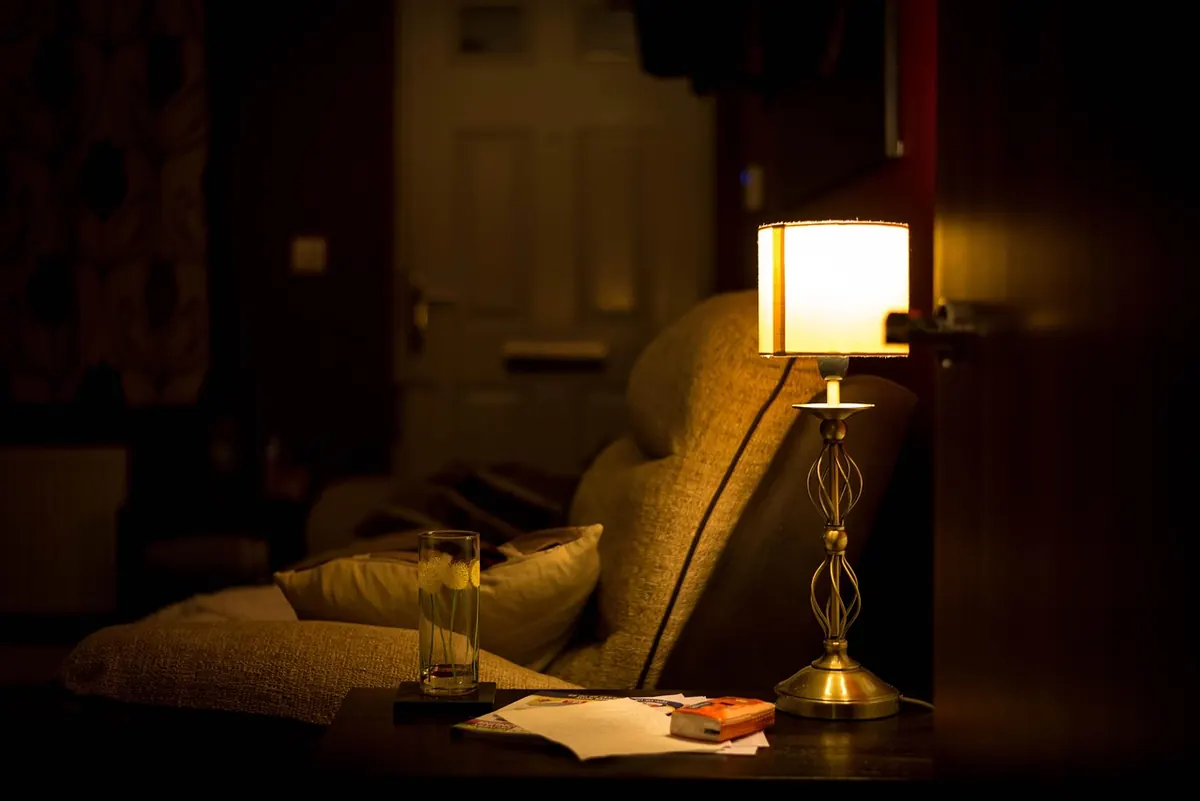
Real candles inside a lantern are lovely for about twenty minutes. Then the wick tunnels, the glass fogs, and you remember that someone has to sit in the room the whole time it burns. Renters have it worse: no drilling, no wiring, no permanent changes to a fixture that belongs to somebody else.
The fix is simpler than it looks. Every lantern has a spot where a candle is meant to sit. Change what sits there, and you get the same glow, a switch you can flip, and nothing to explain at move-out. A decent flicker LED is convincing enough that guests usually work it out only when they try to blow it out.
Start With the Candle Station, Not the Lantern
Ignore the lantern's overall size for a minute. What matters is the small platform inside where wax would go. Most lanterns use one of three setups.
- A flat plate with a spike. Common on hanging lanterns. The spike holds a pillar or taper and will not hold a puck light, so you'll work around it.
- A recessed cup. Deeper and narrower, usually sized for a votive or a short pillar. Measure the inside diameter, not the rim.
- A glass votive sleeve. Often removable and the easiest conversion of all. The sleeve becomes the holder, and the LED simply drops in.
Open the door, take a photo with your phone, and check whether the platform lifts out. Many do. A platform you can set aside means the original candle stays intact in a drawer and the lantern can go back exactly as you found it.
Choosing the Light Source
Battery puck lights
Cheap, bright, and easy to find in warm white. Most run on two or three AAA or AA cells and have a magnetic back or a small hook. Look for a color temperature around 2700K to 3000K, which reads as candlelight. Cool white near 6000K will make the lantern look like a refrigerator interior.
LED candle inserts
Shaped like a taper or pillar, usually with a molded flame tip that rocks on a tiny pivot. This is the version that most closely matches what a candle in a lantern actually looks like, because the light comes from roughly where a flame would sit.
Flameless LED candles
Sold everywhere as decor, but measure carefully. A pillar labeled as six inches often includes a plastic base and stands taller than the lantern's crossbar allows. If the roof is solid, a tall light will press against it and tip.
Measure Twice, Buy Once
Four numbers decide whether your conversion works, and all four take a minute with a tape measure.
- Cup diameter. The inside measurement of the recess or sleeve, so you know the widest light that will sit flat.
- Usable height. From the platform to the underside of the roof or crossbar, minus about half an inch of breathing room.
- Door clearance. Open the door fully and see how much space the light needs to clear the frame when you set it in.
- Opening width. On small lanterns, a puck light can be too wide to fit through the door even if it fits the platform.
Write the numbers in your phone notes. Buying in person is worth it here: hold the light up to the lantern before you pay for it.
Keeping the Flicker Convincing
Flicker LEDs vary a lot. Some pulse in a steady, mechanical rhythm that reads as a blinking battery warning. Others randomize the brightness and look surprisingly alive. If a light has a switch for steady or flicker mode, you already have the good kind.
A few adjustments do most of the work:
- Stay warm. Amber or warm white. Anything bluish kills the illusion instantly.
- One light per lantern. Two mismatched flickers side by side fight each other and look like a fault.
- Diffuse the source. Tape a scrap of parchment, vellum, or even a paper coffee filter over the lens. It softens the hard dot of light into a glow that fills the glass.
- Raise it slightly. Position the light near the middle of the glass rather than at the bottom, so the glow appears where a flame would be and doesn't create a bright hotspot on the pane.
Mounting Without Drilling
Nothing here needs a screw, and every option comes off cleanly when you're done.
- Removable adhesive putty. Press a small ball under the light's base. It grips, cushions rattle, and peels off glass or metal without residue.
- Damage-free adhesive strips. The removable kind sold for hanging pictures. Trim to fit and follow the removal instructions rather than yanking.
- Magnets. If the puck light has a magnetic back, stick a steel washer to the platform with putty and let the magnet do the holding. On steel lanterns, the magnet may grab the frame directly.
- Hook-and-loop dots. Good for lights you'll remove weekly for charging or battery swaps.
- Friction. A light that fits snugly in a glass votive sleeve needs no adhesive at all, which is the tidiest result.
Whatever you choose, test the battery door before you commit. There is nothing more irritating than a beautifully mounted light with dead batteries and no way to reach them without rebuilding the whole setup.
Timers, Batteries, and Small Annoyances
A timer turns this from a gadget into furniture. Six hours on, eighteen off is the usual cycle, and some puck lights and flameless candles build it in. If yours doesn't, a remote-controlled set lets you switch several lanterns on at once from across the room.
Rechargeable AA and AAA cells cut the cost and the waste, but check the flicker behavior on a freshly charged set. Some cheap flicker circuits dim or stutter at lower voltage, and a light that looks great on alkalines may look tired on rechargeables. In cold rooms or on a covered porch in winter, batteries lose capacity faster, so keep spares nearby rather than waiting for a dead lantern.
If something feels off, the cause is usually one of these:
- Too bright or too blue: wrong color temperature, or no diffuser over the lens.
- Strobing rather than flickering: a cheap circuit, or two lights sharing one lantern.
- Batteries dying overnight: the door is pressing the power button when it closes. Shift the light a quarter inch.
- Rattling in wind: a dot of putty under the base fixes it.
The Five-Minute Conversion, and How to Undo It
Clean the platform first; dust and old wax defeat every adhesive. Test the light before mounting it, then set it in place, close the door, and check that the latch still catches and nothing presses on the switch.
Keep the original candle and any hardware in a labeled bag in a drawer, not inside the lantern, where heat and humidity do them no favors. If you ever go back to wax, remove every scrap of putty, tape, and plastic first. A candle burns hotter than you expect near adhesive, and no lantern is worth leaving a flame unattended for.
That's the whole job. No tools, no wiring, no marks on someone else's property, and a lantern that glows every evening without anyone striking a match.
Photo: Paolo Sbalzer / Pexels